
Why Digital UV Printing Gets So Much Attention
Digital UV Printing has become one of the most practical ways to produce sharp graphics on rigid products, especially when buyers want short runs, fast turnaround, and a clean finish on acrylic, plastic, and coated surfaces. For sourcing managers and product teams, the real question is not whether the process looks good on paper. It is whether it can deliver stable color, strong adhesion, and enough consistency to keep a product line moving without constant rework.
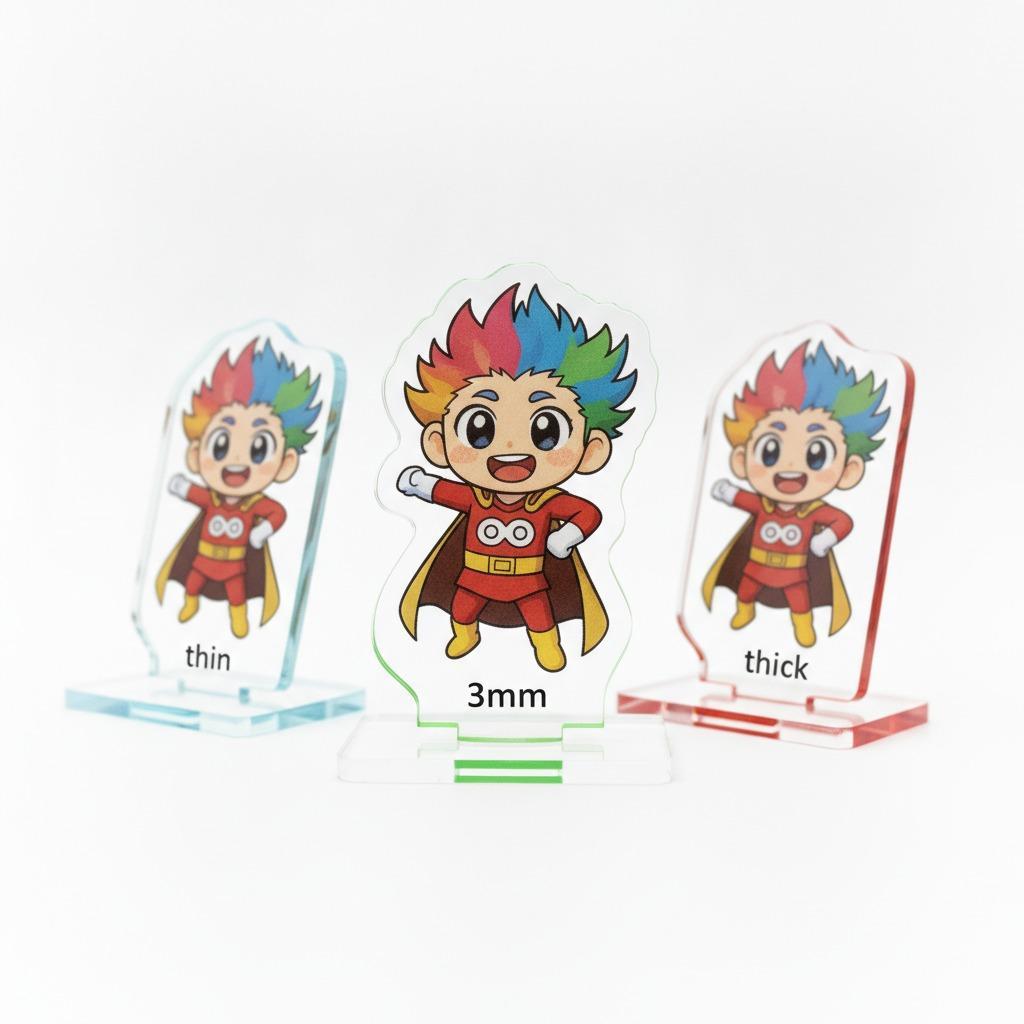
That matters most on items like a UV Acrylic Standee, where edge detail and clarity shape the perceived value, and on Custom Acrylic Gifts, where the print is part decoration and part branding. If the artwork shifts, the white layer is inconsistent, or the cure is uneven, the whole piece looks cheap. Buyers usually notice that faster than suppliers expect.
There is also a practical side. UV printing can support production planning better than many older decorating methods because it fits into a digital workflow. You can change artwork without plates, move between SKUs with less setup, and keep the process more predictable. Still, the method is not magic. Surface prep, file setup, and material selection decide most of the outcome.
A Simple Workflow That Usually Holds Up
1. Start with the substrate, not the artwork
Before you open the design file, confirm what the product is made from and how the print will sit on it. Acrylic is common because it offers a glossy, premium look, but the surface energy and coating condition can vary. Smooth, clean sheets print better than scratched or dusty ones, which sounds obvious until a batch is already on the machine.
If the part will be handled often, ask whether the design needs a white underlayer, a clear top effect, or a print on the back side. That decision changes the visual result and can also affect durability.
2. Prepare the file for the real object
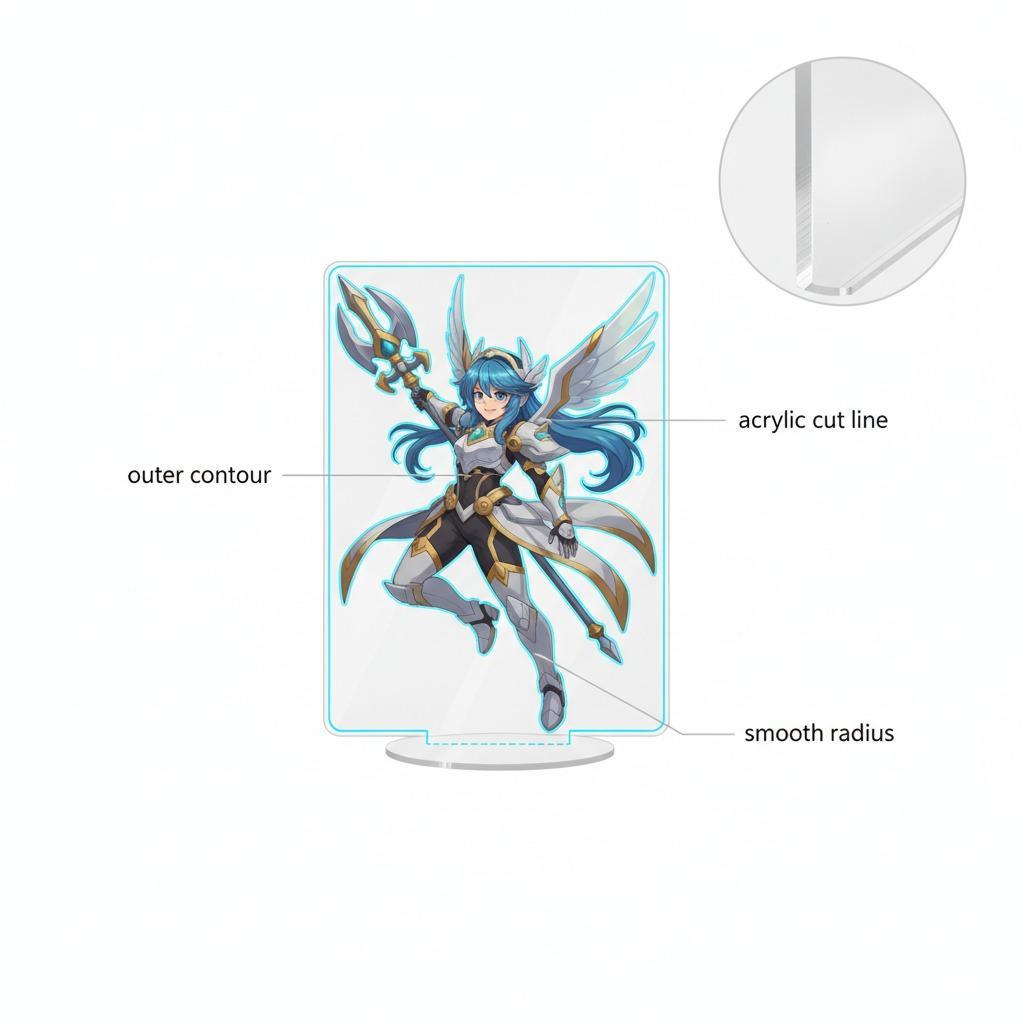
Digital UV Printing works best when the layout matches the finished shape. For flat panels, that is straightforward. For shaped items like an Anime Acrylic Printing project or a standee with cut edges, the design should respect the trim line, stand slots, and any transparent zones. A pretty file that ignores the cut path can still fail on the shop floor.
Keep text large enough to survive the actual viewing distance. Fine lettering can look crisp on a monitor and weak on a 3 mm or 5 mm acrylic piece. If the product will be backlit, test the artwork under illumination before approving a run.
3. Build the print stack with purpose
Many rigid UV jobs rely on some combination of color, white ink, and clear layers. The order matters. White can improve opacity on transparent stock, while clear layers can add texture or highlight a logo. But more layers also mean more variables, and not every design needs them. A restrained build often looks better than an overworked one.
For acrylic gifts and character products, the temptation is to push brightness too far. That can make skin tones harsh or gradients unstable. A better approach is to match the finish to the product's use: display piece, retail gift, promotional item, or collectible.
What Buyers Should Check Before Approving Production
Start with adhesion. If the print can be scratched or chipped too easily, the product is not ready for repeat handling. Then check edge alignment, because rigid products reveal registration errors immediately. After that, inspect color consistency across multiple pieces, not just a single sample. One good sample means little if the second or third looks different.
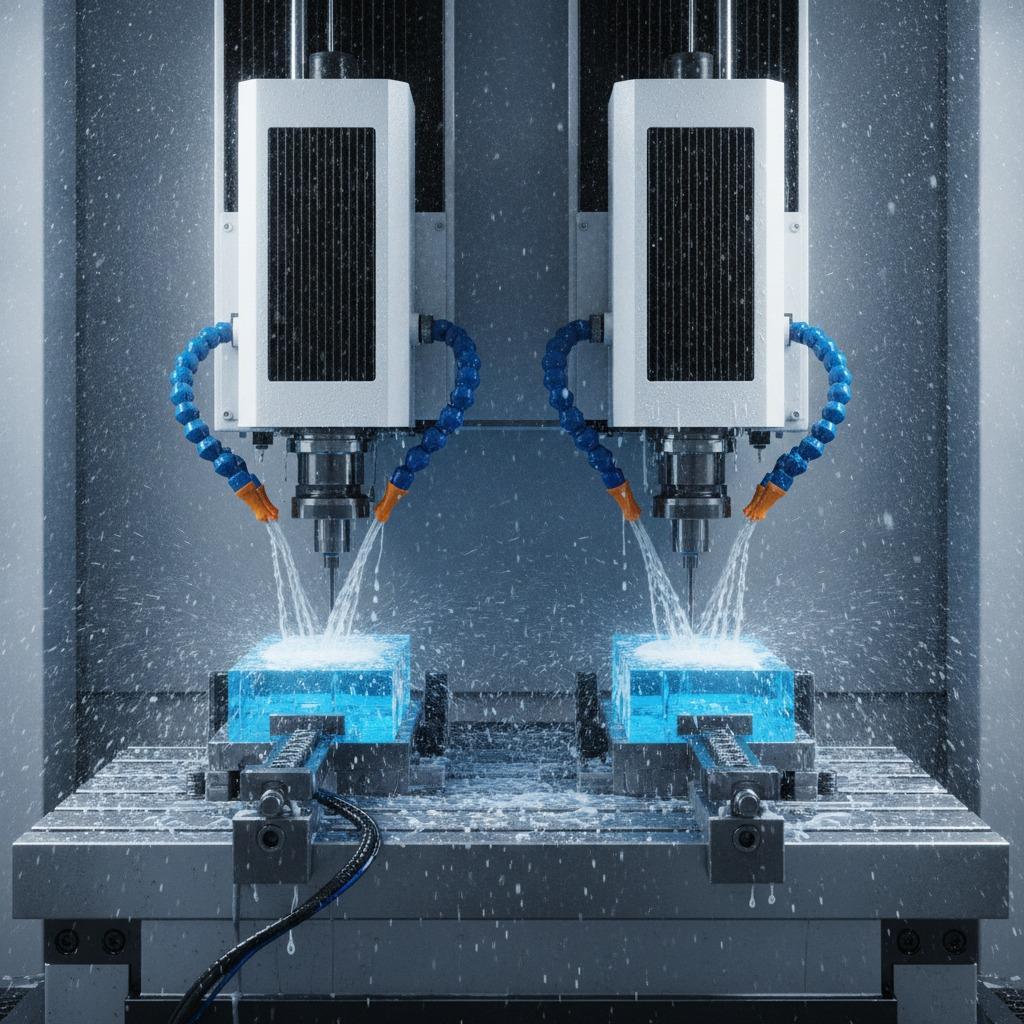
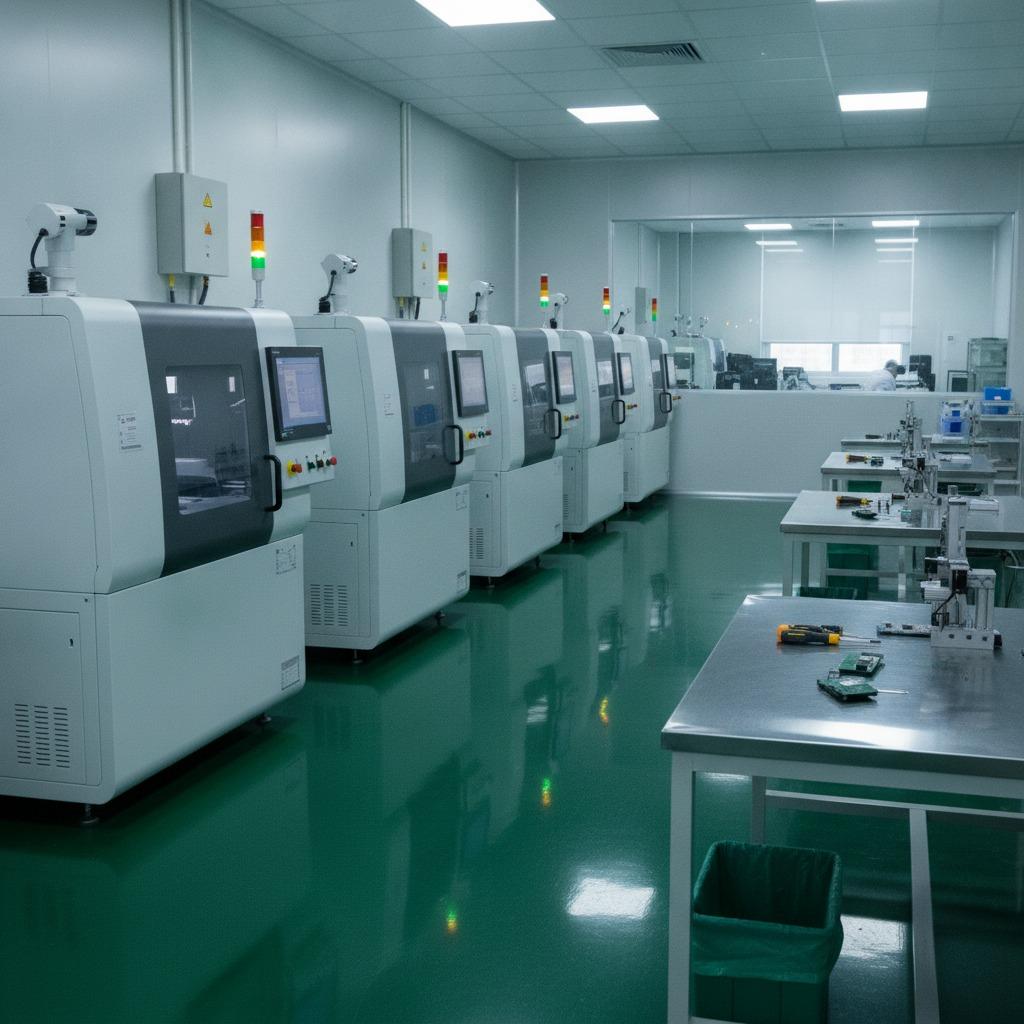
For many teams, the real challenge is not the print itself but the handoff between design, processing, and finishing. A line-based production setup, like the enclosed industrial automation cells sometimes used in other factory operations, is built around repeatability and operator safety. UV printing benefits from the same thinking: controlled workflow, clear station responsibilities, and predictable output. Even a compact shop can borrow that discipline.
Keep in mind that clear acrylic can show dust, fingerprints, and tiny curing defects very easily. That is useful as a quality signal, but it also means final inspection should happen under good lighting. A product that looks acceptable in a dim room may not pass customer review once it reaches retail packaging.
Common Mistakes That Waste Time
One common error is treating all acrylic the same. Sheet quality, surface condition, and thickness can vary enough to change the result. Another is assuming every design benefits from maximum color saturation. On decorative products, too much density can flatten the artwork and remove the premium feel.
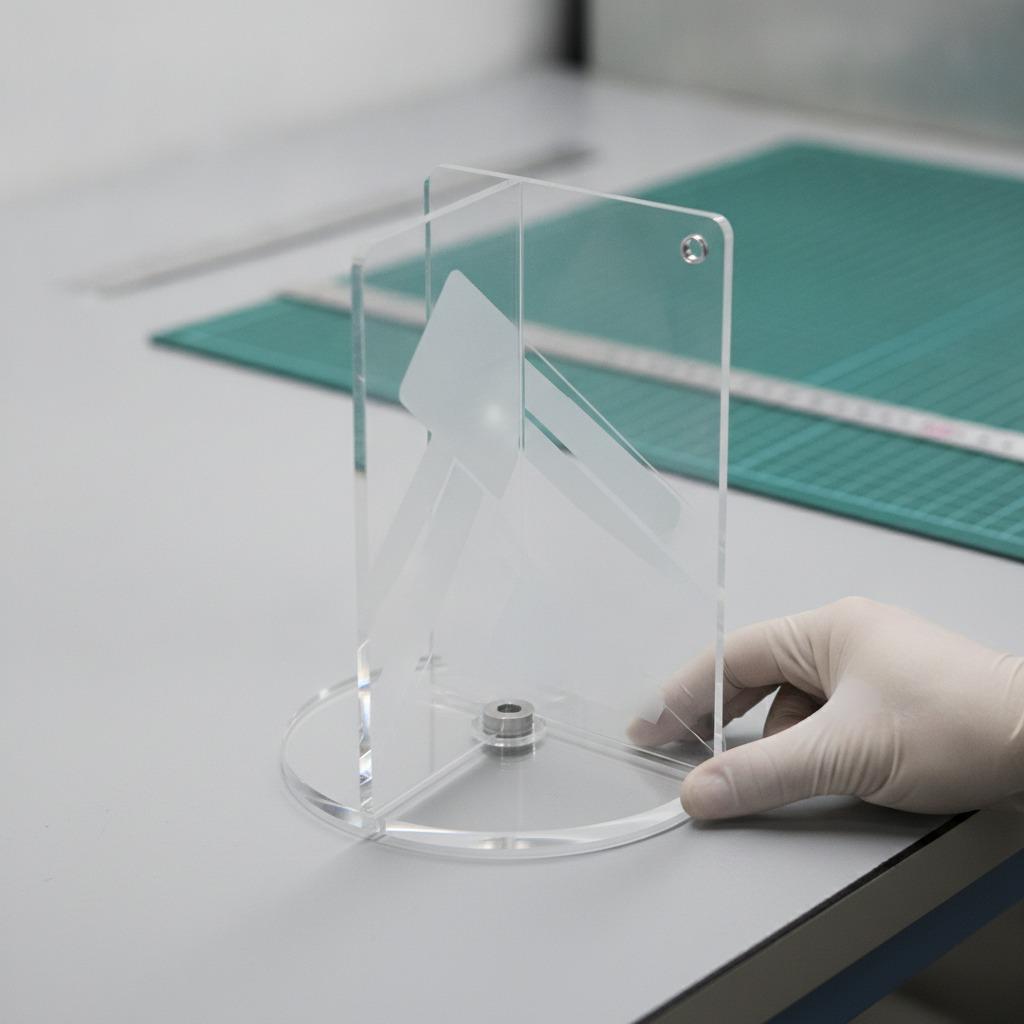
Another frequent problem is ignoring the back side of the part. Many buyers focus on the print face and forget that the reverse side may need protection, masking, or a clean visual finish. That is especially true when making a UV Acrylic Standee that will sit on a desk, counter, or shelf and be viewed from multiple angles.
Finally, do not skip a small pilot run if the product is new. A short trial can expose issues with fit, gloss level, curing behavior, or assembly that are hard to spot in a digital proof.
Practical Buying Advice
If you are sourcing Digital UV Printing for products rather than looking only at the machine side, ask suppliers a few plain questions: how they handle white ink on transparent materials, how they verify alignment after cutting, and what inspection steps they use before packing. Good answers are usually specific and calm, not full of marketing language.
For higher-value Custom Acrylic Gifts, consistency may matter more than raw speed. For event merchandise, speed and flexibility may matter more than a perfectly elaborate finish. The right production choice depends on which failure is more expensive: a late delivery or a slightly simplified visual effect.
If your line includes multiple SKUs, it helps to standardize substrate thicknesses, artwork sizes, and finishing rules. That reduces setup time and makes it easier to reproduce the same look across repeat orders. Small process discipline often saves more money than chasing the cheapest print quote.
FAQ
Is Digital UV Printing only for acrylic?
No. It is commonly used on many rigid materials, but acrylic remains one of the most visible applications because the finish can look clean and premium when handled properly.
Why do some prints look brighter than others?
Ink density, white underlayers, surface condition, and curing all affect the result. Artwork that looks identical on screen may print very differently if those variables change.
Can it work for anime-style merchandise?
Yes, and that is one reason Anime Acrylic Printing has become a popular niche. The style depends on sharp line work, clean color blocks, and controlled transparency, so process discipline matters.
What to Do Next
If you are planning a new acrylic product line, start with a sample based on the final substrate, final cut shape, and final viewing angle. That one step will tell you more than a stack of renderings. After that, compare print clarity, surface durability, and visual consistency across a small batch before you commit to full production.
Digital UV Printing can be a strong option when the product needs flexibility and a polished appearance, but the best results come from treating it as a manufacturing process, not just a decoration method. The details are what decide whether the piece feels like a premium item or a rushed one.