
Acrylic Printing sits at the intersection of design intent and production reality. On paper, it sounds simple: put color onto a clear or colored acrylic sheet and let the material do some of the visual work. In practice, the result depends on substrate choice, surface prep, ink or coating compatibility, and how much handling the finished part will see. For engineers, sourcing managers, and product teams, the real question is not whether acrylic can be printed, but which process gives the right balance of clarity, durability, and repeatability.

Why acrylic printing is used so often
Acrylic has a clean, polished look that suits signage, display parts, machine covers, retail fixtures, panels, and decorative components. It is lighter than glass and easier to machine into flat parts, cutouts, and formed shapes. That makes it attractive for both small-batch custom work and higher-volume production.
The challenge is that acrylic is unforgiving in the wrong setup. A print that looks sharp on the first sample can show scratches, poor edge definition, or adhesion problems once it goes through cleaning, packaging, or field use. That is why buyers should think beyond appearance. Ask how the image is applied, whether the finish is front-printed or reverse-printed, and whether the part will be handled, wiped, mounted outdoors, or exposed to heat.
Common printing approaches
Direct printing
Direct printing puts the image onto the acrylic surface itself. This is useful when the part needs a fast production cycle or when the design may change often. It can work well for flat panels and controlled production runs, but surface preparation matters. Acrylic needs to be clean and free of dust, oils, and static before ink or coating is applied.
Reverse printing
Reverse printing places the image on the back side of a clear acrylic panel, so the artwork is viewed through the material. This is a common choice when the front face must stay glossy and protected. It also gives the part a deeper visual effect, which is why it is often used for display pieces and premium signage. The tradeoff is that the layout has to be planned in reverse order, including any white layers or backing layers.
Coated or laminated graphics
Some acrylic products use printed films, coatings, or laminated layers instead of printing directly onto the sheet. That approach can help when abrasion resistance or special color effects matter more than a bare printed finish. It can also be a safer route when the production team wants a clearer separation between the graphic layer and the substrate. The downside is extra processing, which can add complexity even if the final look is strong.
How to plan a workable process
Start with the use environment. Indoor decorative panels have very different demands from machine fronts, control labels, or shop-floor displays. Then check the acrylic type. Cast and extruded acrylic do not always behave the same way during fabrication or finishing, so it is worth confirming which one the supplier is using. If the part will be cut, engraved, or otherwise processed after printing, the sequence matters. Some shops print first and then machine; others machine first and then print. The right choice depends on registration, edge exposure, and how much handling the part will receive.
For repeatable flat parts, an enclosed computer-controlled workstation can help keep processing consistent. The visible machine setup in the provided material suggests the kind of operator-supervised industrial cell often used for precision fabrication of flat parts or panels. Even if the exact process is not clear, that style of controlled workstation is useful when a job needs indexed loading, monitored operation, and consistent part positioning. It is the sort of setup buyers should look for when the job is less about artistry and more about stable output.
Design details that make or break the result
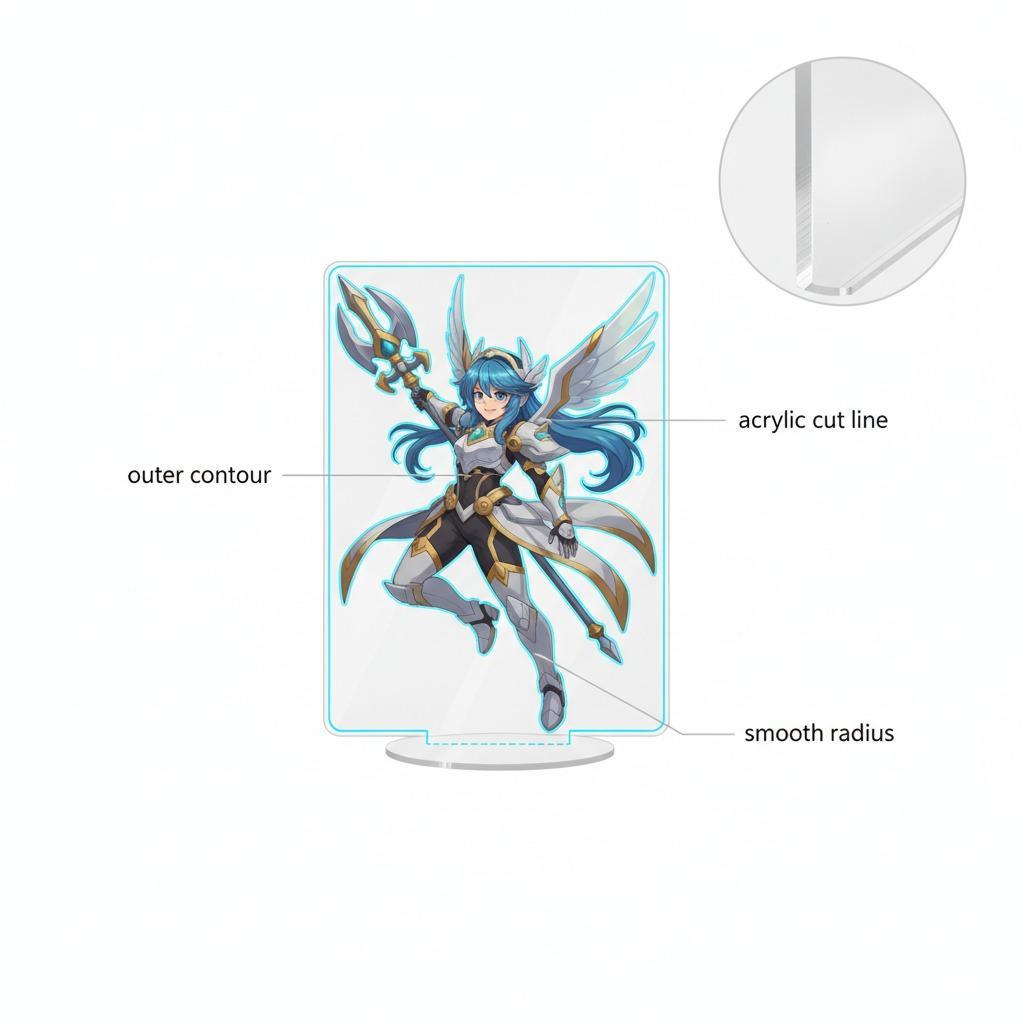
One practical caution: acrylic reflects light. A graphic that looks crisp under one lighting angle may glare under another. For that reason, the print layout should be reviewed in the same lighting conditions where the part will be used. Edge treatment also matters. Cleanly cut edges, polished faces, and consistent corner radii can make a printed part feel far more finished than the print file alone would suggest.
Color management deserves more attention than it usually gets. Transparent or glossy acrylic can shift the way colors read, especially when white ink or background blocking is involved. A buyer should request a sample that reflects the actual substrate, finish, and mounting condition. A digital proof is useful, but it is not enough by itself.
Buyer checklist before placing an order
Ask the supplier how the acrylic will be prepared before printing, what kind of coating or ink system is used, and whether the graphic is meant for front-side or reverse-side viewing. Confirm whether the part will be cut after printing, because that can affect alignment and edge quality. If the application is public-facing, also ask how the finish stands up to cleaning. Some glossy surfaces look excellent at delivery and then degrade quickly if they are wiped with the wrong solvent.
For procurement teams, the best decision is usually not the cheapest print. It is the one that matches the part’s real life: handling, mounting, cleaning, and light exposure. That sounds obvious, but it is exactly where many acrylic jobs go wrong.
Common mistakes to avoid
The most common mistake is treating acrylic like a generic plastic sheet. It is not. It needs a process that respects its surface sensitivity and optical properties. Another frequent error is approving a sample without checking how it looks from the viewing distance that matters. A close-up sample can hide issues that become obvious once the part is installed. Finally, buyers sometimes forget to define the backside condition on reverse-printed parts. A clean front face does not help much if the back layer chips or shows through.
Practical next step
If you are evaluating Acrylic Printing for a new part, start with one representative sample and test it in the real use environment. Check the look, the edge finish, the handling behavior, and the cleaning response before committing to a larger run. That simple step usually tells you more than a long spec sheet, and it gives both the buyer and the supplier a clearer target for the production process.