
How to approach CNC Acrylic Cutting without wasting sheets
CNC Acrylic Cutting is one of those jobs that looks simple from a distance and becomes expensive very quickly when the edge quality, fit, or finish is off. Acrylic is clear, brittle in the wrong conditions, and unforgiving of sloppy fixturing. For engineers, sourcing managers, and product teams, the real decision is not just whether a part can be cut. It is whether the process will hold the appearance, dimensional consistency, and repeatability the product needs.
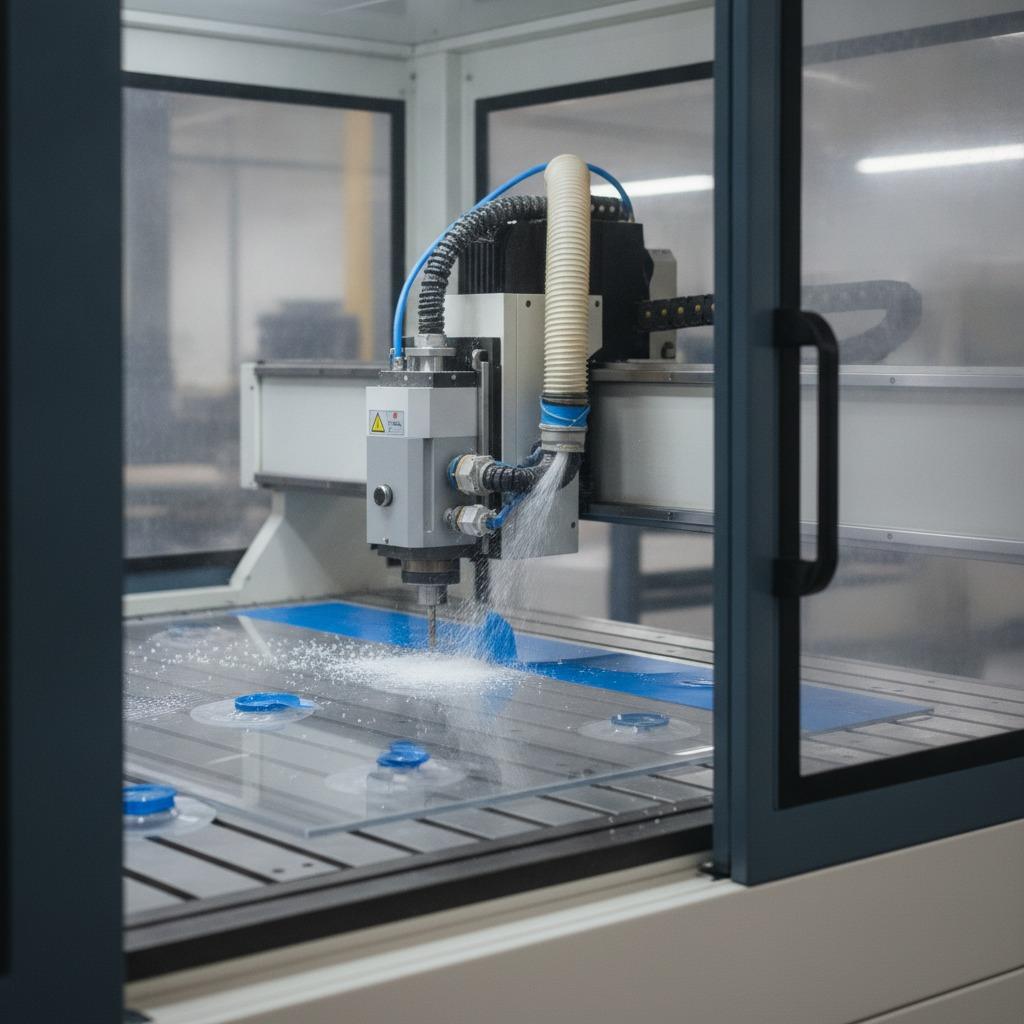
That is why many shops treat acrylic differently from wood, foam, or general plastics. The best results usually come from a controlled workflow, careful tooling choices, and a clean setup around the machine. In enclosed production cells, operators can supervise parts through viewing windows, use HMIs to monitor jobs, and keep loading and unloading organized on adjacent work tables. That layout matters more than it may look at first glance. Acrylic scratches easily, and the fewer unnecessary handoffs, the better the finished part tends to look.
What makes acrylic tricky
Acrylic is valued because it machines into crisp shapes and can be polished to a high visual standard. It is also popular for covers, display panels, light guides, guards, signage, and small precision components. But the same material that gives a clean transparent finish can also chip at corners, show stress marks, or pick up heat distortion if the process is pushed too hard.
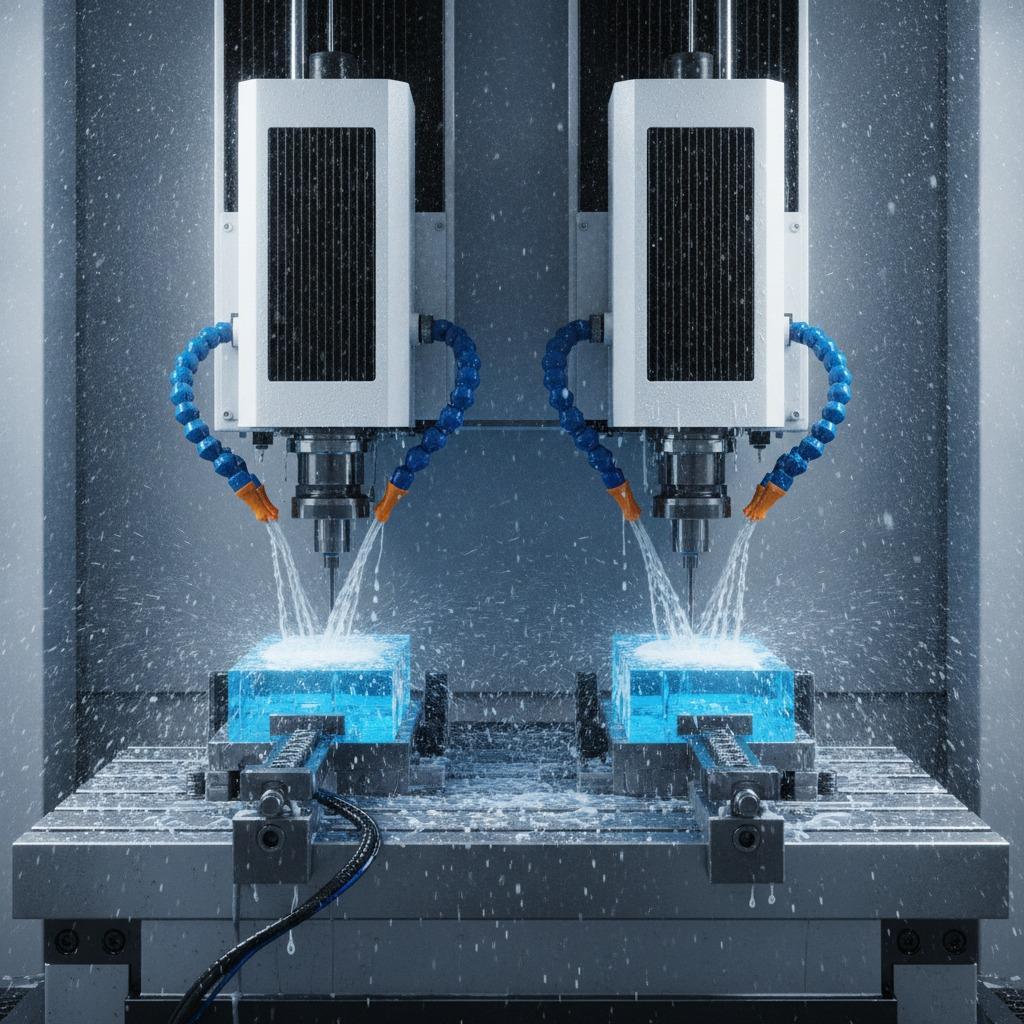
The main issue is heat. If chips are not cleared well, friction rises and the cut can haze or melt at the edge. If the part is clamped badly, vibration leaves witness marks or causes cracking at internal corners. Buyers sometimes focus only on thickness and sheet size, but the edge condition and downstream assembly fit are often more important than the raw cut dimension.
Step-by-step setup for better results
1. Start with the part purpose
Before anyone loads a sheet, define how the part will be used. A cosmetic front panel has different needs from an internal machine guard or a fixture plate. If the part will be seen by customers, edge quality may matter more than absolute cycle time. If it will be hidden inside a housing, throughput and consistency may matter more.
2. Choose the right cutting path
For many jobs, Precision CNC Cutting gives better control over shape, pockets, and edge consistency than a more generic approach. It is often the safer choice when the geometry includes tight radii, drilled features, or repeated production runs. Toolpath strategy matters: conservative entry moves, sensible feed rates, and good chip evacuation can save a lot of rework.
3. Match tooling to the finish target
Not every cutter behaves the same on acrylic. A tool that is fine on aluminum may leave a poor finish on plastics. Shops usually test a small run first, then adjust speed, feed, and tool geometry before moving to full production. That small trial is boring, but it can prevent a stack of rejected panels later.
4. Hold the sheet without marking it
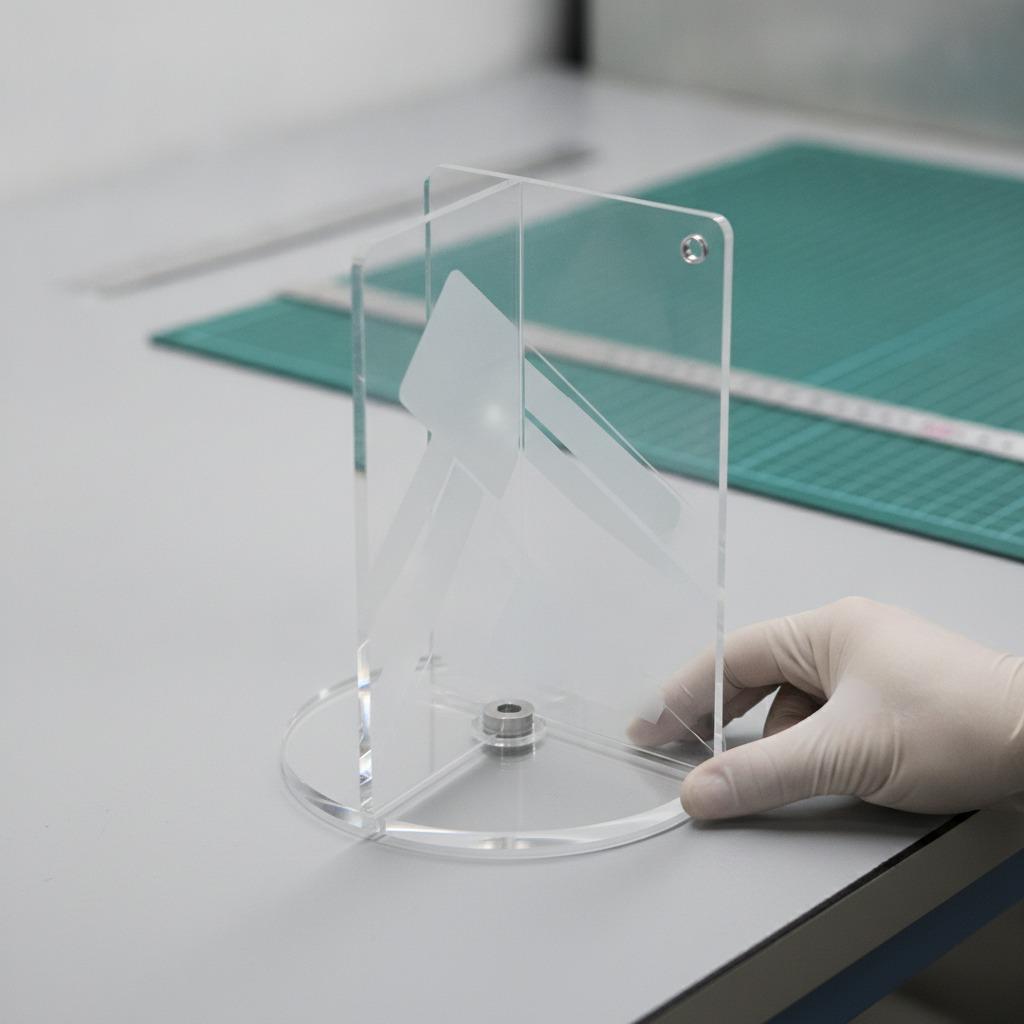
Vacuum tables, sacrificial layers, and careful fixture placement are common for a reason. Acrylic does not forgive point loads. If the sheet bows or chatters, the edges will tell the story immediately. Good fixturing also improves repeatability from part to part, which is important when panels need to fit into an enclosure or align with fasteners and inserts.
5. Inspect the first article closely
Check edge clarity, corner quality, hole finish, and dimensional fit before releasing the batch. A part can look acceptable at a glance and still fail when assembled. This is where enclosed machine cells with built-in controls can help the shop keep the process stable, especially in higher-volume environments where operators need quick feedback and a simple way to verify status.
When laser is not the best answer
Laser Free Acrylic Cutting is worth considering when the application is sensitive to heat-affected edges or when the buyer wants to avoid the look that some laser-cut acrylic develops. That said, laser cutting has its place and can be efficient for certain shapes and volumes. The practical point is to choose the process based on the finish requirement, not on habit.
If the part must stay optically clean, avoid obvious edge discoloration, or fit into assemblies where stress at the edge is a concern, CNC routing often deserves a serious look. If the part is small, decorative, or highly repetitive, a different process may be more efficient. There is no universal winner here, and anyone promising one is usually simplifying the job too much.
Common mistakes buyers still make
The first mistake is assuming all acrylic is the same. Cast and extruded materials can behave differently during machining, so a sample in one grade does not always predict performance in another. The second is specifying only outline dimensions while ignoring edge finish, protective film handling, or any secondary polishing step. The third is buying on price alone and then discovering the parts need rework, which is usually the most expensive way to save money.
Another common miss is forgetting how the part will be handled after cutting. If parts are stacked raw against each other, they can scratch before they ever leave the shop. A good supplier will usually talk about packaging, part separation, and inspection flow as part of the quote conversation. If they do not, ask.
What to ask a supplier before releasing production
Ask what tooling and fixturing approach they plan to use, how they verify the first piece, and whether they can support the sheet size and thickness you need. If your project involves repeated orders, ask how they keep the process stable from run to run. For higher-throughput work, an organized production line with enclosed stations, control screens, and clear operator access can be a strong sign that the shop is set up for repeatable handling rather than one-off improvisation.
You should also ask for a sample edge condition if appearance matters. A photograph is useful, but a real sample tells the truth faster. Acrylic is visual by nature, and the difference between acceptable and excellent can be subtle until the light hits the part at the wrong angle.
Quick buyer checklist
Use CNC Acrylic Cutting when you need accurate geometry, clean repeatability, and controlled edges. Confirm the finish target early. Make sure the supplier understands the material grade, part handling needs, and any cosmetic constraints. If heat marks or edge haze are unacceptable, say so plainly. It is easier to engineer the process correctly than to argue about appearances after production starts.
For teams comparing options, the real question is not just which machine can cut acrylic, but which shop can produce the part consistently with the least risk to clarity, fit, and assembly. That is the decision that saves time later.
Next step
If you are sourcing acrylic parts now, request a process plan, a first-article sample, and a discussion of edge finish before you approve volume production. That small extra step usually tells you more than a spec sheet ever will.