
Why the acrylic standee manufacturing process matters to buyers
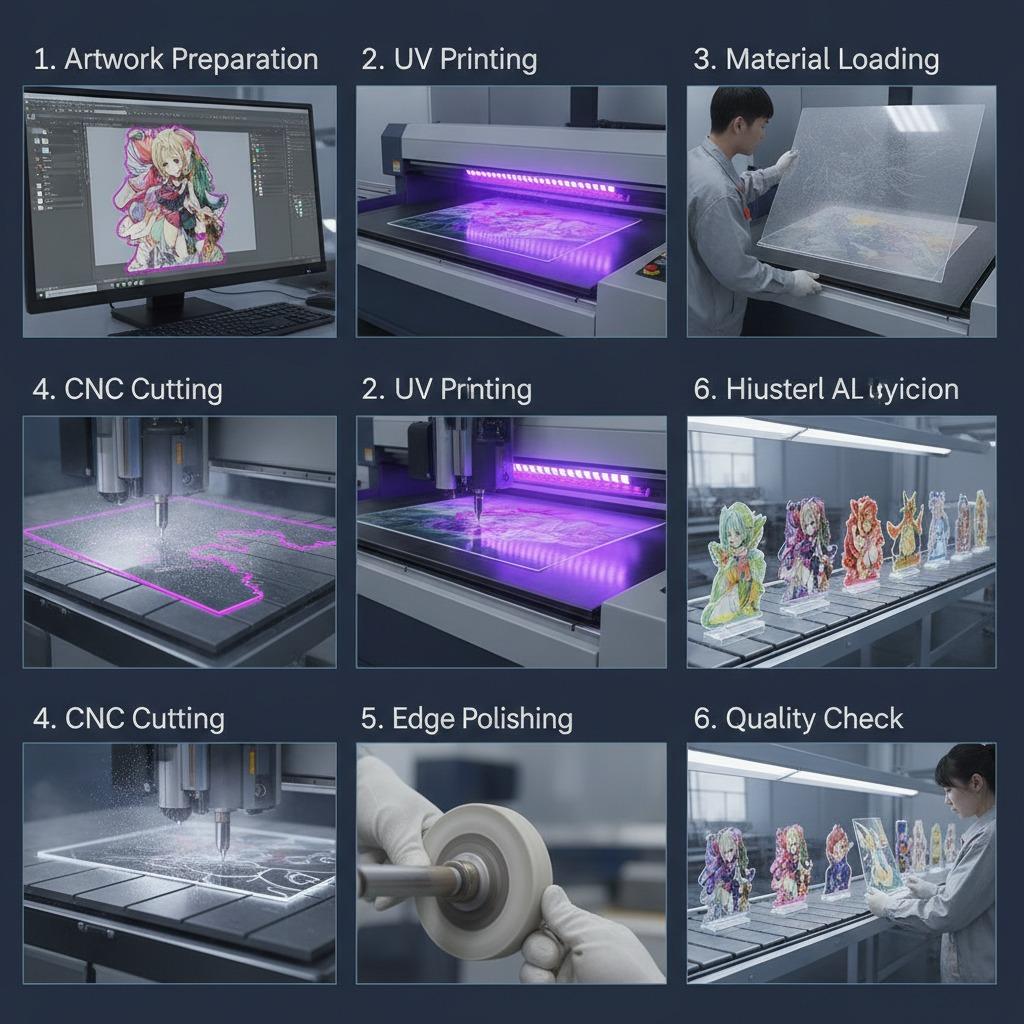
If you are sourcing merch, gifts, or event collectibles, the acrylic standee manufacturing process is one of those topics that looks simple from the outside and becomes surprisingly important once you start comparing suppliers. A clear acrylic piece with full-color artwork can look premium in a showroom photo, but the real differences show up in cutting quality, print adhesion, edge finish, and how consistently a supplier can reproduce the same shape across a larger run.
That matters because buyers are usually making a practical decision, not just an aesthetic one. You need to know whether the product will hold up in retail packaging, whether the artwork will read cleanly on a translucent base, and whether the edge finish feels polished enough to justify the price point. For anime merch, souvenir items, festival décor, and desk displays, the details are what separate a fast-moving product from a disappointing return.
What the finished product usually consists of
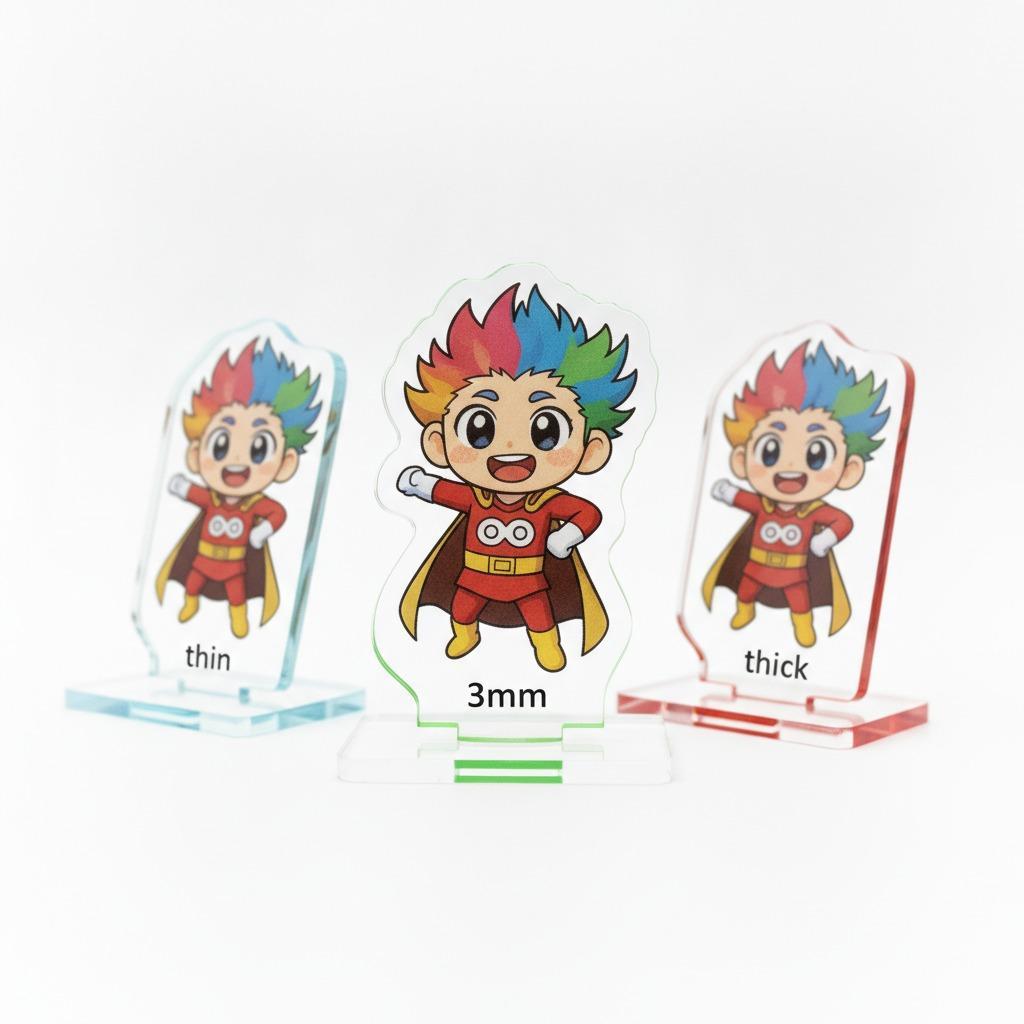
The product you are likely evaluating here appears to be a clear or translucent acrylic decorative piece with printed full-color artwork on one face. The visible design shows a circular composition, stylized characters, and a custom outer contour with a rounded, scalloped border. That kind of shape is common in custom standee production because it gives a simple flat panel more visual presence without adding complex assembly.
In many cases, the value comes from three things working together: the artwork, the outline, and the finish. A good UV printed acrylic standee should look crisp from normal viewing distance, have clean edges, and avoid the cloudy or chipped look that poorly cut acrylic sometimes shows under bright retail lighting.
A practical look at the production flow
While every factory sets up its line differently, acrylic standee production generally follows a familiar sequence.
1. Artwork preparation
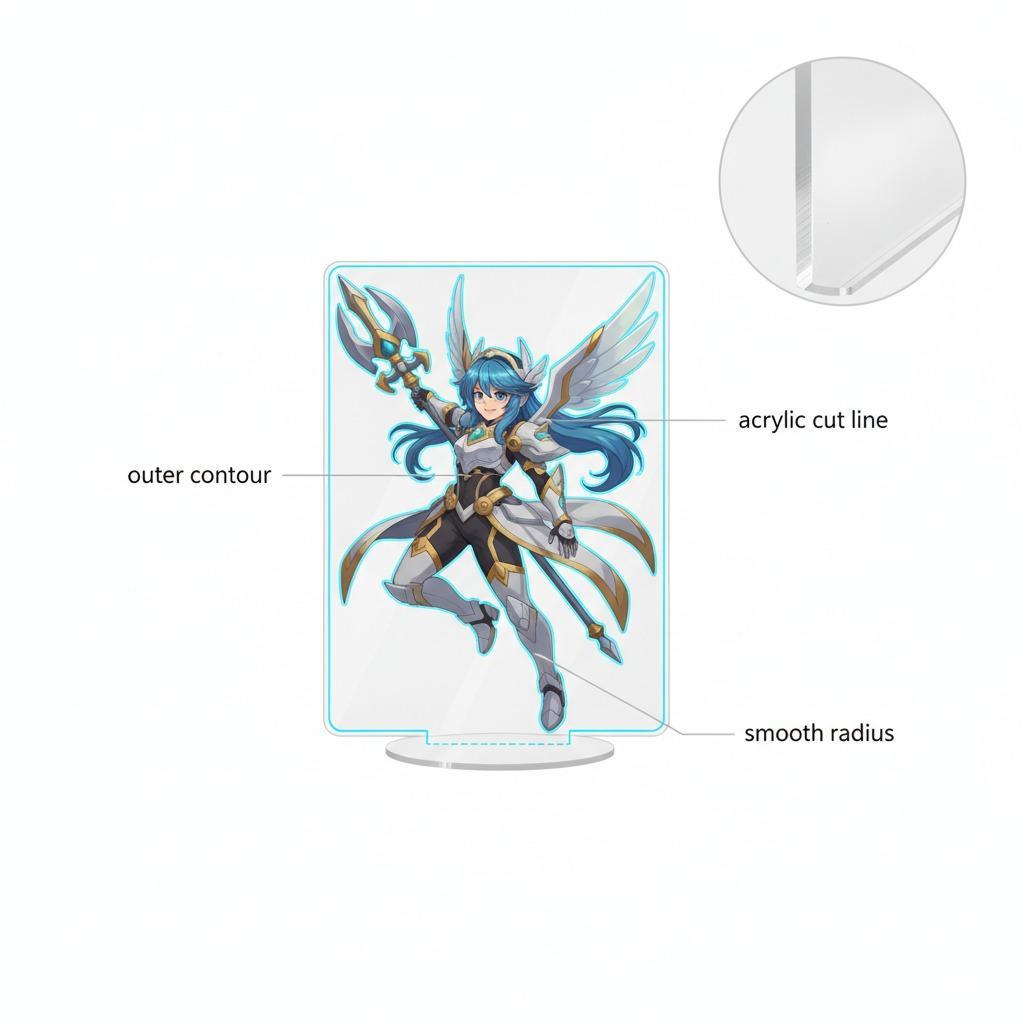
The supplier first prepares print-ready artwork. This step sounds routine, but it affects everything that follows. If the design includes small text, layered motifs, or fine line work, those details need to stay legible once they are printed on glossy acrylic. Buyers should ask how the artwork will be positioned relative to the cut line, especially on shapes with curved borders or “cloud” contours.
2. UV printing or screen printing
For colorful merch pieces, UV printing on acrylic is often the most flexible route. It handles full-color illustrations well and works for short runs or varied designs. Screen printing can still make sense for simpler graphics, solid spot colors, or repeat production where the artwork does not change much.
The key buyer question is not which method sounds more advanced, but which one suits the design. A detailed character illustration with lantern motifs and layered visual effects usually benefits from UV printing because it can reproduce more variation without elaborate setup.
3. CNC cutting acrylic or laser cutting
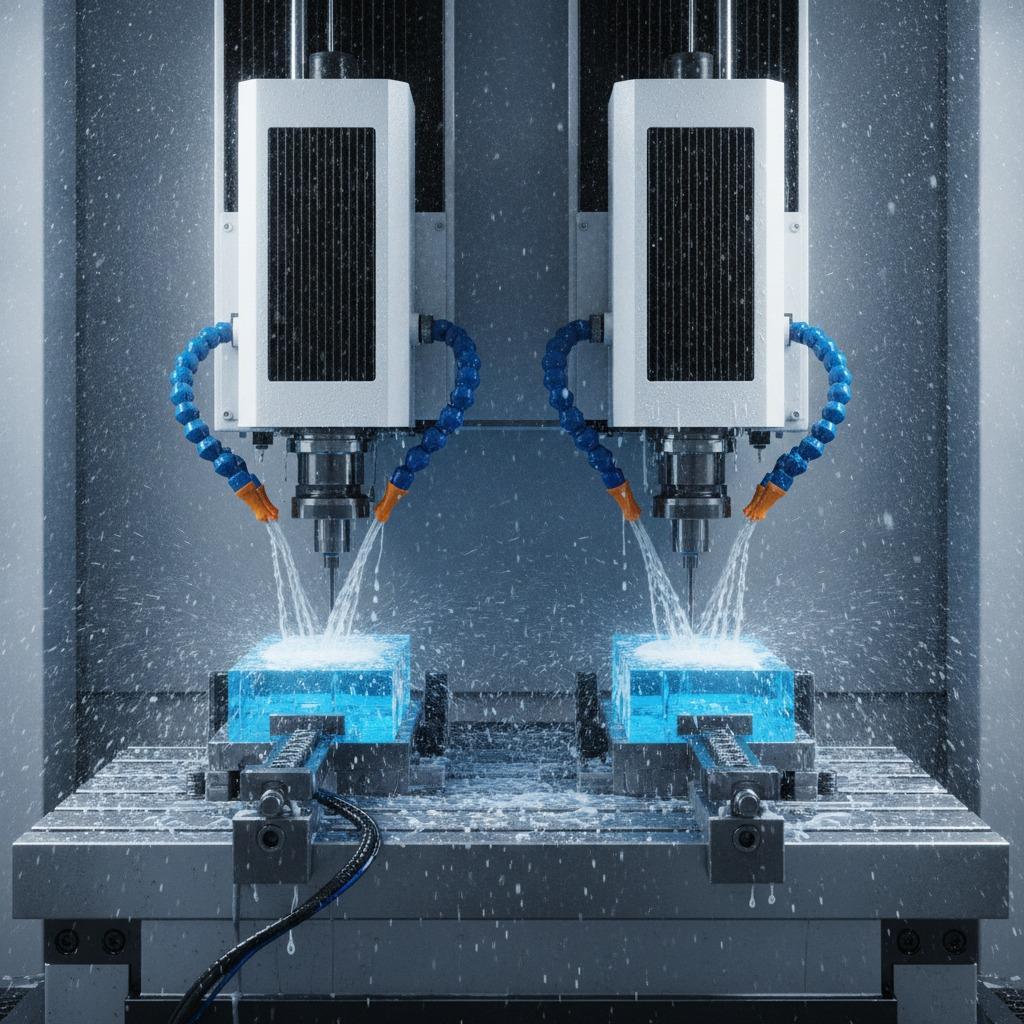
Once the sheet is printed, the shape is cut. CNC cutting acrylic is often used for custom outlines that need clean edge control and repeatability. Laser cutting may also be used depending on the thickness, edge appearance, and shop setup. Either way, the cut line should follow the artwork outline closely and leave no obvious burn marks, jagged corners, or uneven curves.
For buyers, this is where sample inspection pays off. A design that looks attractive in a digital proof can look awkward if the contour is rough or the border width varies too much around the perimeter.
4. Acrylic polishing and finishing
Acrylic polishing is not just cosmetic. It helps the edge catch light cleanly and gives the piece a more finished retail look. On translucent or clear pieces, polished edges can make the product feel more substantial even when the panel itself is lightweight.
That said, polishing quality varies. A glossy edge is good; an over-melted or uneven one is not. If the product will be sold in gift shops or at events, edge quality can influence perceived value more than buyers expect.
How to evaluate suppliers before placing an order
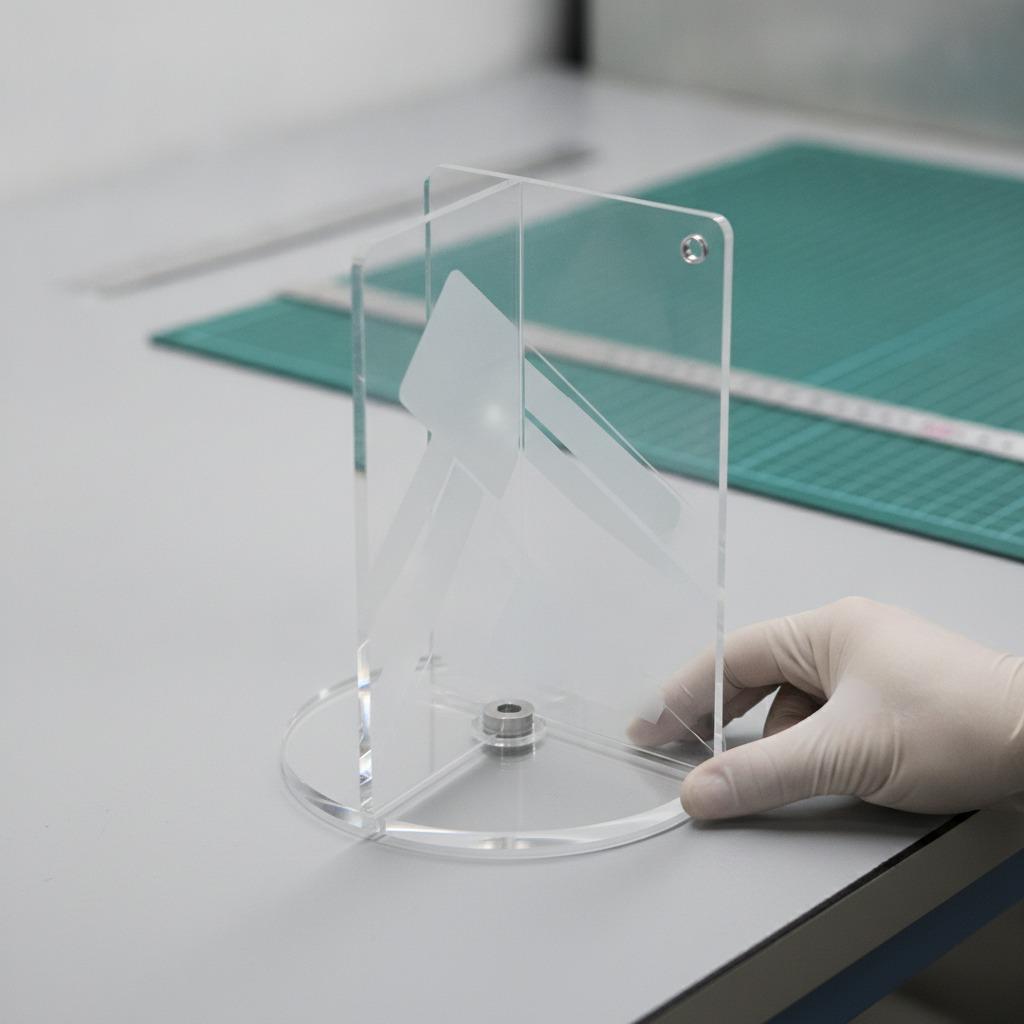
When comparing suppliers, do not stop at the sample photo. Ask how they manage print registration, cut tolerance in practical terms, and surface protection during packing. If the standee is meant for retail shelves, minor scratches can become a complaint very quickly.
A sensible supplier review usually covers:
- Print clarity on both light and dark backgrounds
- Accuracy of the cut line around curves and small details
- Edge finish consistency from sample to sample
- Whether protective film is used, if applicable
- Packaging method for shipment and display-readiness
A small caution: many acrylic products look similar in catalog photos, but the cheapest option often saves money by reducing finishing time. That may be acceptable for a bulk giveaway. It is less acceptable for premium fandom merchandise or collector-style items.
Common mistakes buyers make
One frequent mistake is treating all acrylic decoration as interchangeable. A desk ornament, wall plaque, and collectible display piece may use similar materials, but the intended use changes the priorities. A hanging piece needs different finishing considerations than a freestanding ornament.
Another mistake is underestimating how the artwork interacts with the clear base. Transparent backgrounds can look elegant, but they also expose alignment issues and make dust, scratches, or edge haze easier to see. If the illustration depends on bright borders or layered-looking graphics, ask for a proof that shows the actual printed result rather than a flat digital mockup.
Buyer-facing questions worth asking early
Before you move into sampling or mass production, ask the supplier a few direct questions:
- Which printing method will be used for this design?
- Is the outline cut by CNC or laser?
- How is the edge finished after cutting?
- Can the factory handle custom-shaped artwork with curved borders?
- What packaging is used to prevent scuffing during shipment?
These questions are simple, but they quickly reveal whether the supplier understands custom standee production as a process, not just a printing job.
Next step for sourcing teams
If you are developing a new merch item, start with a sample that reflects the actual artwork, border shape, and finish you plan to sell. The acrylic standee manufacturing process rewards careful proofing. A clean sample will tell you more than a polished sales sheet ever will, and it is usually the safest way to judge whether the product belongs in a gift line, fan collection, or seasonal festival range.